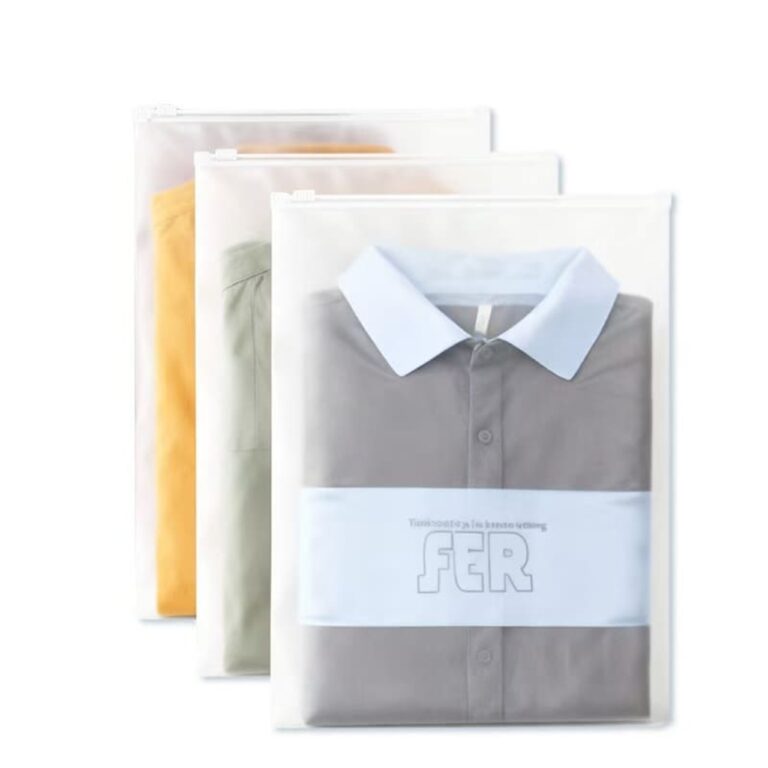
Are you curious about how a simple poly bag is made? The process seems easy, but getting it wrong can cause big problems. Understanding how it works helps you get the perfect bag.
Poly bags are made in a three-step process. First is film blowing1, where we create the plastic film to the right thickness. Second is printing, where your design is added. The final step is bag cutting, where the film is cut and sealed into its final shape.
Now you know the basic steps. But each step has details that are very important for the quality of the final bag. Let's look at each stage of the process more closely. This will help you understand what makes a high-quality poly bag and how we ensure every bag we make is perfect for you.
How Is the Right Thickness for a Poly Bag Achieved?
Worried your bags will be too thin and tear easily? The wrong thickness can ruin your product's protection. The film blowing1 stage is where we precisely control the thickness to meet your exact needs.
The right thickness is achieved during the film blowing1 process. We melt raw plastic pellets and extrude them into a large bubble of film. By carefully controlling the machine's speed and the air pressure inside the bubble, we can produce plastic film of any desired thickness for your bags.
This first step is called film blowing1, and it is the foundation of your bag's quality. We start with high-quality raw plastic pellets, usually polyethylene2. These pellets are fed into a machine called an extruder. Inside, they are heated and melted into a thick liquid. This molten plastic is then pushed through a circular die, forming a thin tube. We then blow air into this tube, just like blowing up a long balloon. This expands the tube into a large bubble. The size of this bubble and the speed at which we pull the film upward determine the final thickness. We measure thickness in microns3 or mils. Getting this right is very important. A thicker bag is stronger and better for heavy items, while a thinner bag can be more cost-effective for lightweight products like clothing. Our technicians monitor this process carefully to ensure the thickness is consistent and exactly what you ordered.
| Thickness (microns) | Common Use Cases | Key Benefit |
|---|---|---|
| 20-30 microns | Lightweight clothing, bread bags | Cost-effective |
| 40-60 microns | E-commerce mailer bags, food bags | Good balance of cost and durability |
| 70-100 microns | Heavy-duty parts, garbage bags | High strength |
What's the Best Way to Print My Logo on Poly Bags?
Afraid your beautiful logo will look blurry or misplaced on your packaging? A poor printing job can make your brand look unprofessional. Choosing the right printing method4 ensures your design is crisp and perfectly placed.
The best printing method4 depends on your design and budget. We offer two main types: offset printing5 and rotogravure printing6. Rotogravure printing gives a much better result, especially for detailed logos with many colors. It guarantees perfect alignment and the print will last a long time.
Choosing between printing method4s is a big decision. Let’s break it down. Offset printing, sometimes called flexography, is the more budget-friendly option. It uses flexible rubber plates to transfer ink onto the bag. It works well for simple, one or two-color designs. However, it can sometimes have issues with alignment, especially on very small bags or with complex logos. On the other hand, rotogravure printing6, or copperplate printing, offers the highest quality. This method uses a metal cylinder that has your design engraved into it. The engraved areas hold the ink and transfer it directly to the plastic film. The setup cost is higher because making the engraved cylinders is expensive. But the result is amazing. The images are sharp, like a photograph, and the colors are perfectly aligned every time. I remember a client who had a small bag with a two-color logo. To save money, they chose offset printing5. The logo kept printing off-center, and we had to rework the order many times. If they had chosen rotogravure from the start, the result would have been perfect the first time.
| Feature | Offset Printing (Flexography) | Rotogravure Printing (Copperplate) |
|---|---|---|
| Cost | Lower setup cost, cheaper for small runs | Higher setup cost, cheaper for large runs |
| Quality | Good for simple designs | Excellent, photo-like quality |
| Alignment | Can have slight shifts | Perfect, precise alignment |
| Best For | Simple logos, 1-2 colors | Complex, multi-color designs |
| Durability | Good | Excellent, very long-lasting |
How Do Poly Bags Get Their Final Shape?
Have you ever received bags that were not sealed correctly or had different shapes? Poorly cut bags can lead to product damage. Our specialized cutting machines ensure every bag is perfectly shaped and sealed.
Poly bags get their final shape in the last step, called bag cutting and sealing7. The printed plastic film is fed into a machine that uses heat and pressure to seal the sides. Then, a blade cuts the bag to the correct size, creating the final product you need.
This final stage brings everything together. The large rolls of printed film are now ready to become individual bags. We use different machines for different types of bags because each style has unique requirements. For a simple flat bag, like those used for t-shirts, we use a side-seal machine. It seals the sides of the bag and cuts it to length. For stronger bags that need to hold more weight, like garbage bags, we use a bottom-seal machine. This creates a stronger seal at the bottom of the bag. Other bags need more complex features8. For zipper bags, a special machine attaches the zipper track to the film before the bag is sealed and cut. For die-cut handle bags9, an extra step is added where a press punches out the handle shape. Precision here is key. A seal must be strong and complete to prevent leaks or tears. A zipper must align perfectly to close smoothly. The dimensions of every bag must be identical for professional packaging. We check our machines constantly to make sure every seal is strong and every cut is exact.
| Bag Type | Machine / Process Used | Key Feature of Process |
|---|---|---|
| Flat Bags | Side-seal machine | Seals and cuts the sides. |
| Mailer Bags | Side-seal machine with adhesive strip application | Adds a self-sealing adhesive strip10. |
| Zipper Bags | Zipper insertion machine + sealer | Attaches the zipper profile before sealing. |
| Die-Cut Handle Bag | Sealing machine + Die-press | A press punches out the handle after sealing. |
Conclusion
From film blowing1, to printing, to cutting and sealing, making a poly bag is a precise process. Understanding these steps helps you choose the best options for your packaging needs.
Explore this link to understand how film blowing affects the quality and thickness of poly bags. ↩
Learn about polyethylene's properties that make it ideal for durable poly bags. ↩
Explore how thickness affects the strength and usability of poly bags. ↩
Learn about various printing methods to ensure your logo looks professional on poly bags. ↩
Discover the benefits and limitations of offset printing for your packaging needs. ↩
Find out why rotogravure printing is preferred for high-quality designs on poly bags. ↩
Understand the importance of cutting and sealing in ensuring the quality of poly bags. ↩
Understand the various complex features that can be added to poly bags for enhanced usability. ↩
Find out how die-cut handle bags are produced and their advantages. ↩
Learn how self-sealing adhesive strips enhance the functionality of poly bags. ↩